Steel Aluminum CNC Machining Milling Turning
Category: High Tolerance CNC Machining
Product Name: Military Cavity
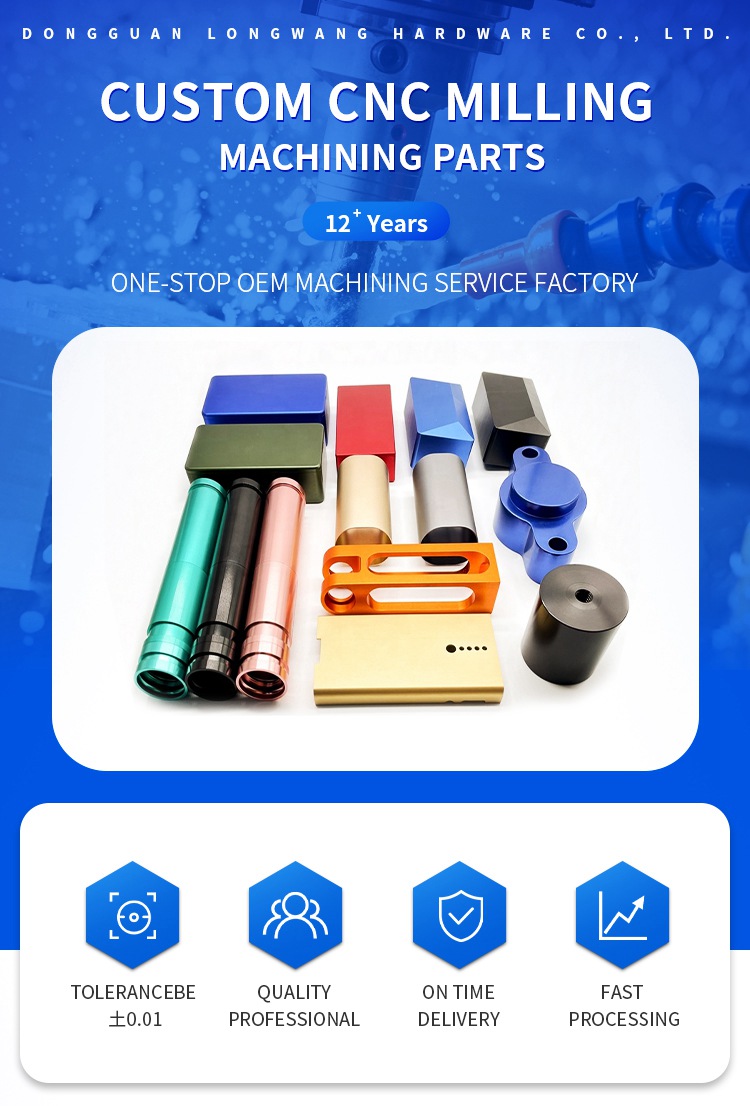
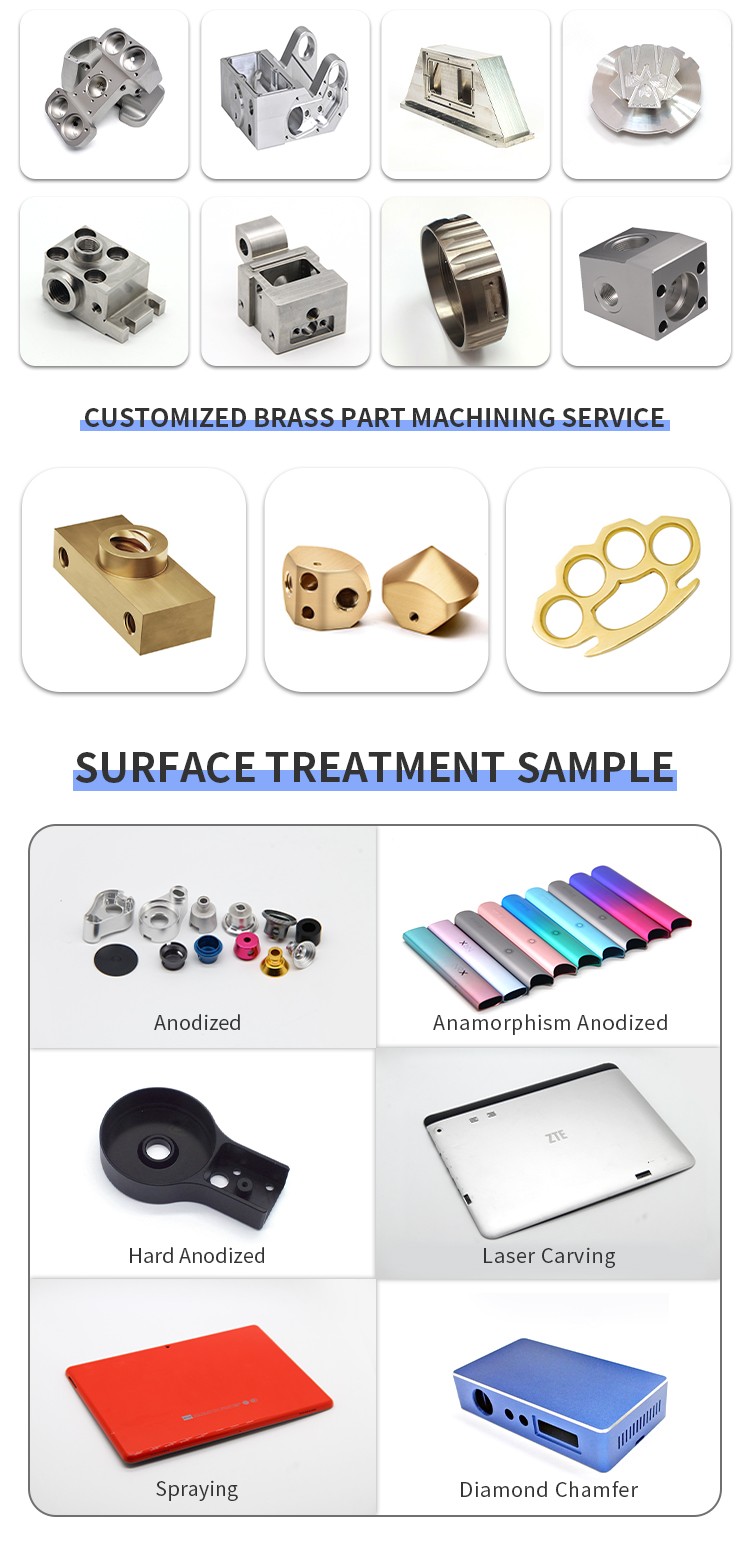
Processing method: CNC machining of aluminum alloy cavity
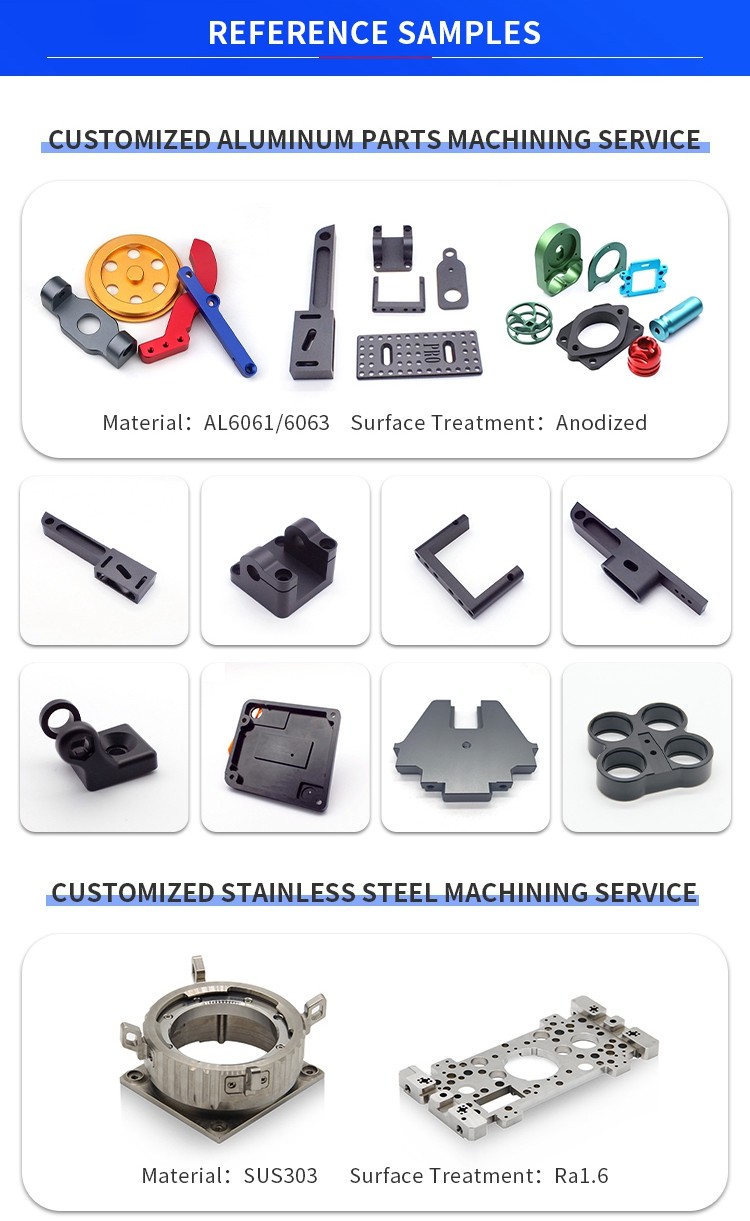
Material: Aluminum Alloy 6061/7075/5052
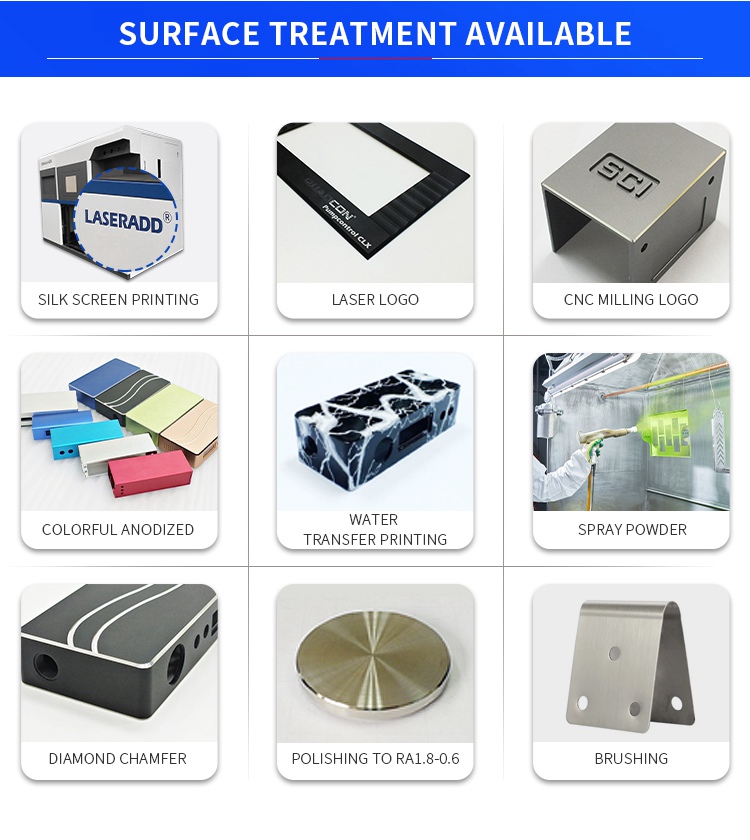
Surface treatment: polishing, deburring, oxidation
Processing cycle: 3-7 seven working days
Test standard: 3D drawings provided by the customer
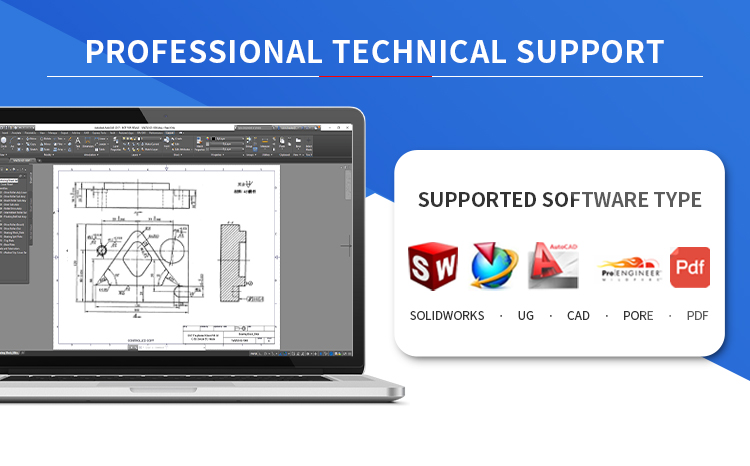
Data format: STP/IGS/X.T/PRO
Product features: smooth surface, high gloss, and fine workmanship
If there are multiple cavities on aluminum profile parts, it is not advisable to use the sequential processing method of one cavity for each cavity during processing, as this can easily cause uneven stress on the parts and cause deformation. Using multiple layers of processing, each layer should be processed simultaneously to all cavities as much as possible, and then the next layer should be processed to evenly stress the parts and reduce deformation.
Reduce cutting force and cutting heat by changing the cutting amount; Among the three factors of cutting amount, the back-cutting amount has a significant impact on the cutting force. If the machining allowance is too large and the cutting force of a single pass is too large, it will not only cause deformation of the parts but also affect the rigidity of the machine tool spindle and reduce the durability of the tool. If the amount of back-cutting is reduced, it will greatly reduce production efficiency. However, in CNC machining, high-speed milling can overcome this challenge. While reducing the back feed, as long as the feed is correspondingly increased and the machine speed is increased, the cutting force can be reduced while ensuring machining efficiency.



| Business Type | Factory / Manufacturer |
| Service | CNC Machining |
| Turning and Milling | |
| CNC Turning | |
| OEM Parts | |
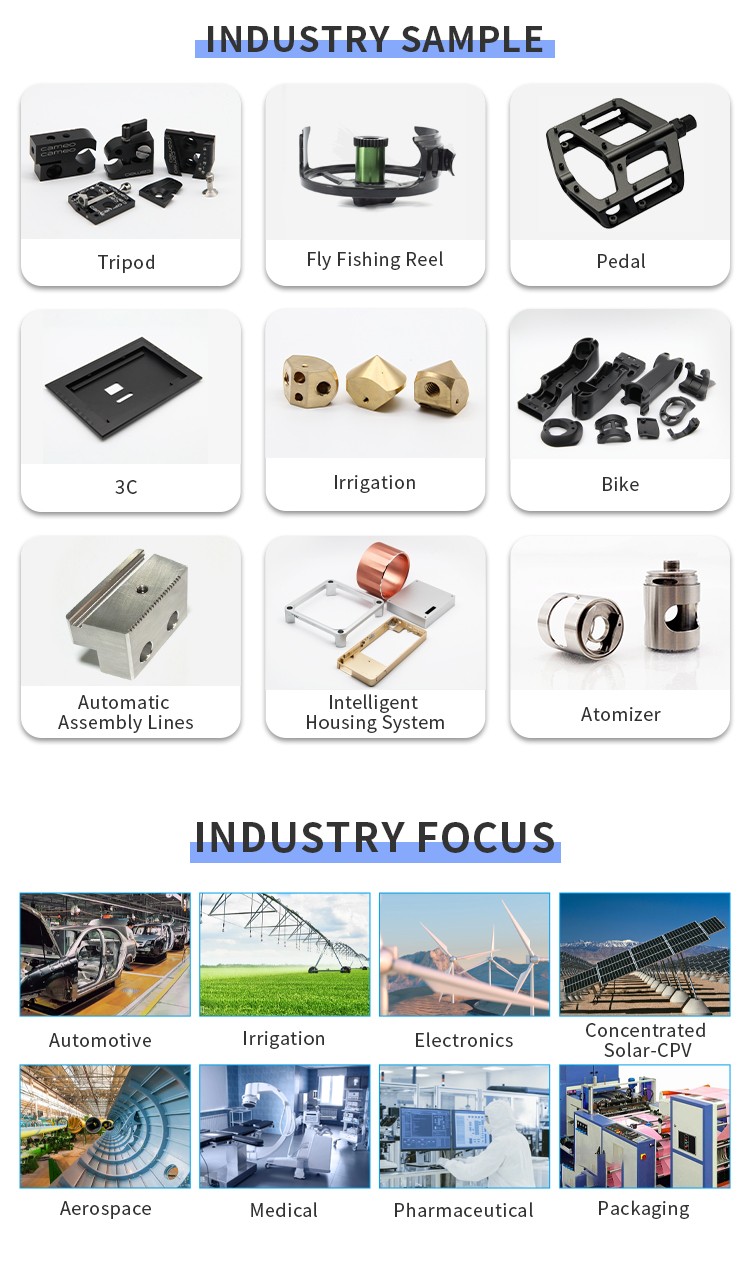
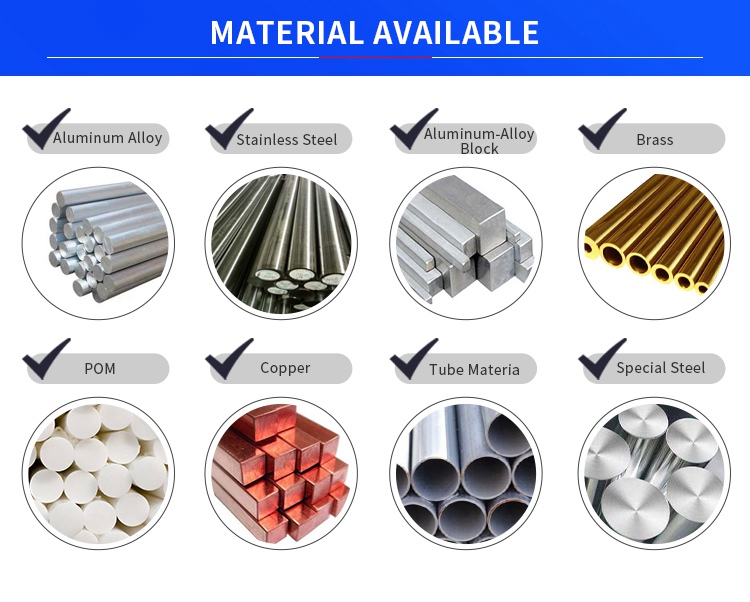
| Material | 1). Aluminum: AL 6061-T6, 6063, 7075-T, etc |
| 2). Stainless steel: 303,304,316L, 17-4(SUS630) etc | |
| 3). Steel: 4140, Q235, Q345B,20#,45# etc. | |
| 4). Titanium: TA1, TA2/GR2, TA4/GR5, TC4, TC18, etc | |
| 5). Brass: C36000 (HPb62), C37700 (HPb59), C26800 (H68), C22000(H90) etc | |
| 6). Copper, bronze, Magnesium alloy, Delrin, POM, Acrylic, PC, etc. | |
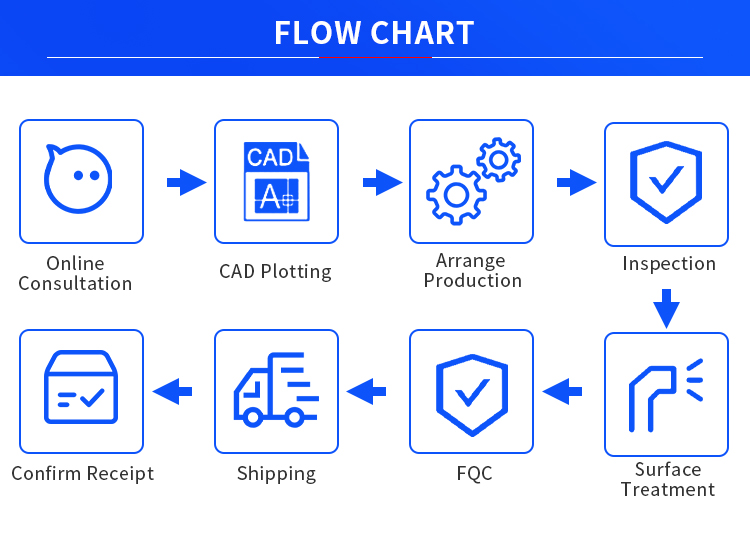
| Finish | Sandblasting, Anodized color, Blackening, Zinc/Nickl Plating, Polish, |
| Powder coating, Passivation PVD, Titanium Plating, Electro galvanizing, | |
| electroplating chromium, electrophoresis, QPQ(Quench-Polish-Quench), | |
| Electro Polishing, Chrome Plating, Knurl, Laser etch Logo, etc. | |
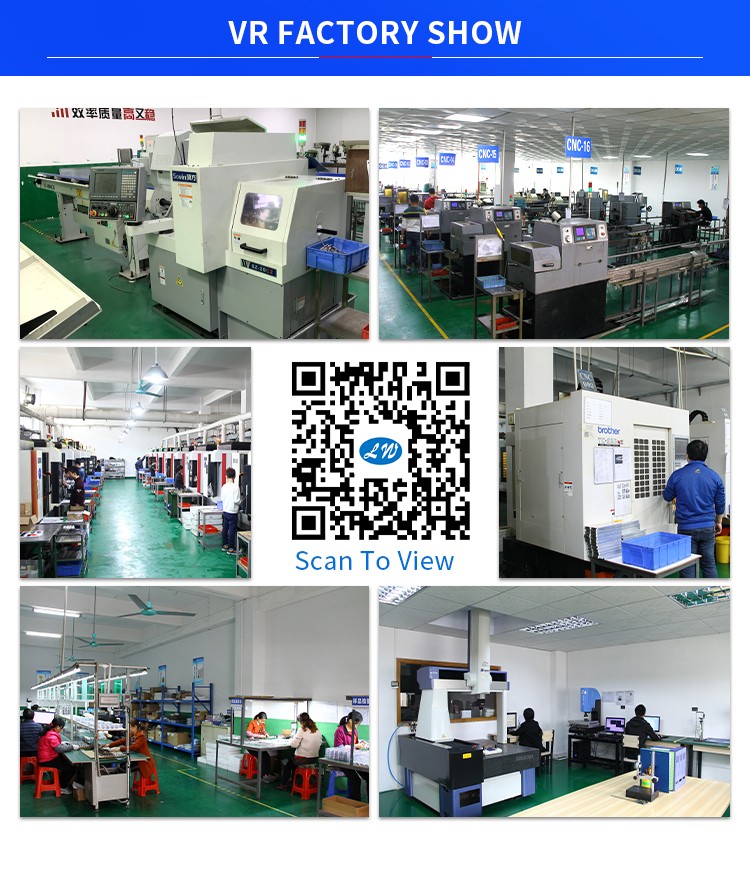
| Main Equipment | CNC Machining center(Milling), CNC Lathe, Grinding machine, |
| Cylindrical grinder machine, Drilling Machine, Laser Cutting Machine, etc. | |
| Drawing format | STEP,STP,GIS,CAD,PDF,DWG,DXF etc or samples. |
| Tolerance | +/-0.01mm ~ +/-0.05mm |
| Surface roughness | Ra 0.1~3.2 |
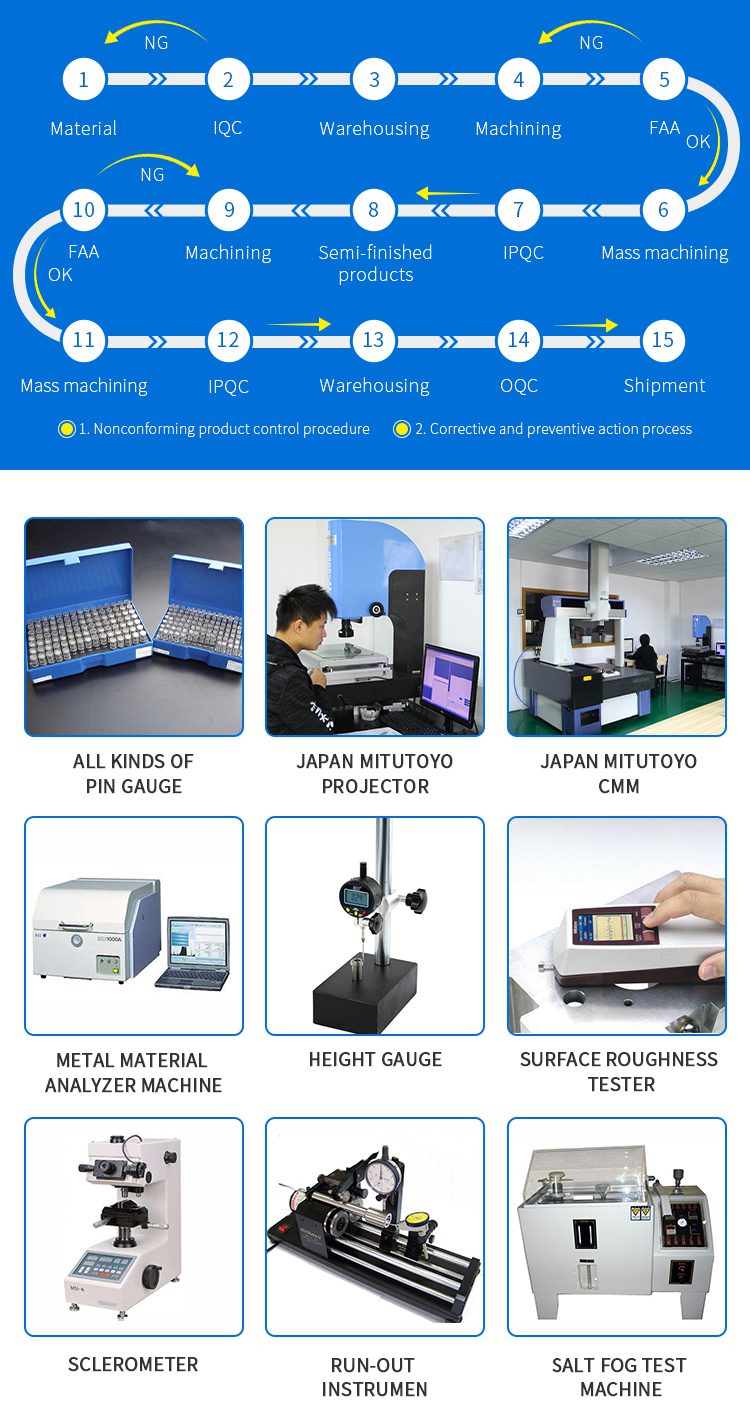
| Inspection | Complete inspection lab with Micrometer, Optical Comparator, Caliper Vernier, CMM |
| Depth Caliper Vernier, Universal Protractor, Clock Gauge, Internal Centigrade Gauge | |
| Capacity | CNC turning work range: φ0.5mm-φ150mm*300mm |
| CNC milling work range: 510mm*1020mm*500mm |
